Gameynix.com might contain affiliate links from amazon.com, so that we might earn referral commissions for each qualified purchases. It helps us to keep this website active and motivates us to make more valuable contents for visitors.
As gamers, we invest time and money into creating the perfect gaming setup. High-refresh-rate monitors, mechanical keyboards, and ergonomic chairs are staples for most setups, but one underrated accessory that can dramatically improve your comfort and performance is a gaming footrest. This blog is your DIY guide to making a gaming footrest for the ultimate gaming experience, offering a step-by-step process to help you build one tailored to your needs.
Introduction: Why Comfort Matters in Gaming
Imagine this: you’re deep into an epic boss fight, but halfway through, your legs start feeling numb, your back aches, and you can’t focus. Sound familiar? These discomforts are common for gamers who spend hours sitting in one position. A gaming footrest can be a game-changer, providing the comfort and support you need to stay immersed in the action.
In this guide, we’ll explore everything you need to know about making your own DIY gaming footrest. From understanding its benefits to step-by-step instructions, you’ll have all the tools to enhance your setup without overspending.
What is a Gaming Footrest?
At its core, a gaming footrest is a simple accessory designed to support your feet, improve your posture, and reduce discomfort during long gaming sessions. Think of it as an ergonomic upgrade for your legs.
Types of Footrests:
- Static Footrests: Fixed height, ideal for simple setups.
- Adjustable Footrests: Height and angle can be adjusted for maximum comfort.
- Rocking Footrests: Allow gentle movement to improve circulation.
By opting for a DIY gaming footrest, you can combine the best features of these types into a single, cost-effective solution.
Why is a Gaming Footrest Important for Gamers?
Gaming setups often focus on flashy hardware, but comfort plays a crucial role in performance. Sitting for hours without proper leg support can lead to poor posture, fatigue, and even long-term health issues. This is where a gaming footrest steps in to save the day.
Key Reasons to Use a Gaming Footrest:

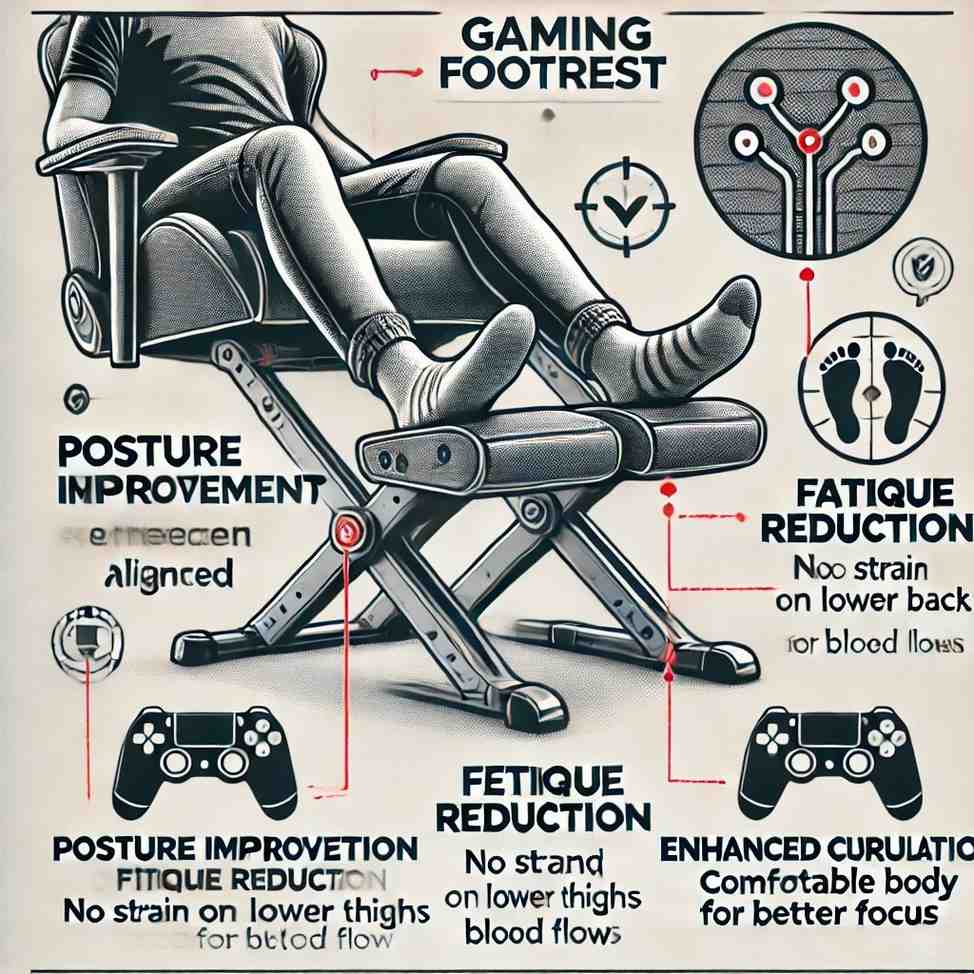
- Posture Improvement: Keeps your knees and hips aligned for a natural sitting position.
- Fatigue Reduction: Prevents strain on your lower back and thighs.
- Enhanced Circulation: Elevating your feet promotes better blood flow, reducing the risk of leg numbness or swelling.
- Focus Booster: When your body is comfortable, your mind can focus entirely on the game.
The Science Behind Footrests and Posture
Did you know that sitting with your feet dangling can strain your lower back and thighs? Studies from ergonomic experts reveal that using a footrest significantly reduces lumbar stress by promoting a natural spinal curve. For gamers, this translates into fewer distractions from physical discomfort.
Fact: The Journal of Physical Therapy found that ergonomic accessories like footrests can improve sitting posture by up to 70%, reducing fatigue and increasing productivity—benefits that apply perfectly to gaming.
Benefits of a DIY Gaming Footrest for the Ultimate Gaming Experience
Creating your own DIY gaming footrest offers several unique advantages over purchasing one from a store:
Benefits:
- Affordability: Store-bought footrests can cost $50 or more, while a DIY option is typically under $30.
- Customization: Choose the dimensions, materials, and features that suit your gaming setup.
- Sustainability: Repurpose old materials for an eco-friendly project.
- Satisfaction: Building something with your own hands adds a sense of pride to your gaming setup.
Drawbacks:
While a DIY footrest has many benefits, it’s worth considering potential drawbacks, such as:
- Durability Risks: A homemade design may not match the longevity of commercial products unless built carefully.
- Time Investment: Depending on your skill level, building a footrest could take several hours.
Materials Needed for a DIY Gaming Footrest
Before diving into the building process, gather these materials. Most of them are affordable and easily available at hardware stores or online.
- Item: Wooden board (18″x12″) Purpose: Sturdy base for the footrest
- Item: Foam padding Purpose: Provides cushioning for your feet
- Item: Fabric or vinyl cover Purpose: Adds a polished look and durability
- Item: Adjustable brackets Purpose: Allows height adjustments for flexibility
- Item: Non-slip rubber pads Purpose: Prevents sliding during use
- Item: Screws and screwdriver Purpose: Assembly tools
- Item: Adhesive spray Purpose: Secures the foam padding
- Item: Measuring tape Purpose: Ensures precise dimensions
Step-by-Step DIY Guide to Making a Gaming Footrest
Now let’s get into the details of building your DIY gaming footrest for the ultimate gaming experience.
Step 1: Measure and Cut the Base
Using your wooden board, cut the base to your desired dimensions. An 18″x12″ size is a good starting point, but feel free to adjust based on your chair height and gaming desk.
Step 2: Add Foam Padding
Cut the foam padding to match the dimensions of the wooden base. Attach it securely with adhesive spray, ensuring there are no gaps or loose edges.
Step 3: Cover with Fabric
Wrap the foam-covered board with your chosen fabric or vinyl. This step not only improves aesthetics but also protects the foam. Use a staple gun or adhesive to secure the fabric neatly underneath.
Step 4: Attach Adjustable Brackets
Install adjustable brackets on the underside of the board. These brackets allow you to change the height and angle of your footrest to suit different setups.
Step 5: Add Non-Slip Pads
Finally, attach non-slip rubber pads to the bottom corners of the footrest. This prevents it from sliding, even during intense gaming moments.
Enhancing Your DIY Gaming Footrest
Want to take your footrest to the next level? Here are a few optional upgrades to make it even more functional and stylish:
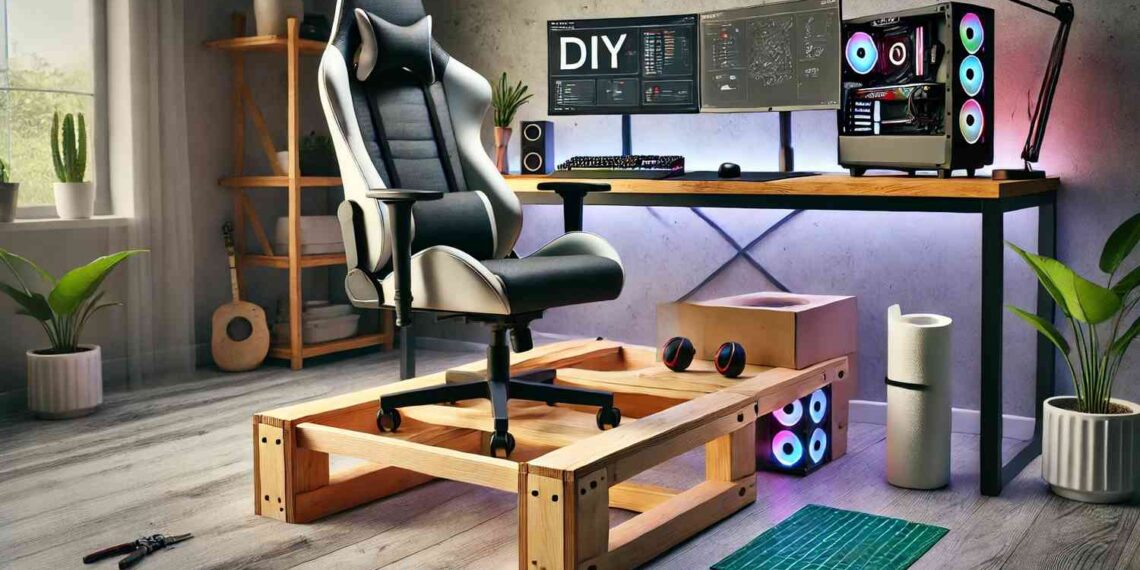
- Built-In Massage Rollers: Add small rolling cylinders for a foot massage effect.
- LED Strips: Integrate RGB lighting to match your gaming setup.
- Storage Compartment: Create a hollow base with a lid to store cables, controllers, or other accessories.
DIY Gaming Footrest vs. Store-Bought Footrest: A Comparison
-
Feature: DIY Gaming Footrest
Cost: $15–$30
Customization: Fully customizable
Durability: Depends on materials used
Eco-Friendliness: Uses recycled materials
Fun Factor: High (DIY project) -
Feature: Store-Bought Footrest
Cost: $50–$100
Customization: Limited
Durability: Usually high
Eco-Friendliness: Not always sustainable
Fun Factor: Low
Tips for Using a Gaming Footrest
Once you’ve built your DIY gaming footrest, use these tips to get the most out of it:
- Adjust Regularly: Experiment with different heights and angles to find what feels best.
- Pair with Ergonomic Furniture: Use it alongside a gaming chair with lumbar support for maximum comfort.
- Maintain Cleanliness: Wipe down the surface regularly, especially if you use fabric.
Frequently Asked Questions About Gaming Footrests
Q1: Can I build a gaming footrest with household items?
Absolutely! Items like old wooden boards, cushions, and leftover fabric can be repurposed into an effective DIY gaming footrest.
Q2: How do I ensure my DIY footrest is stable?
Use non-slip rubber pads on the bottom and ensure all screws are tightened securely.
Q3: Are DIY footrests as good as store-bought ones?
Yes! A well-built DIY gaming footrest can offer the same level of comfort and support, with the added bonus of customization.
Q4: How much time does it take to build a DIY gaming footrest?
On average, building a DIY gaming footrest takes 2–3 hours, depending on your experience with DIY projects and the complexity of the design.
Q5: What type of fabric works best for the footrest cover?
Durable and easy-to-clean materials like vinyl, faux leather, or heavy-duty cotton are excellent choices. They provide a professional finish and are resistant to wear and tear from prolonged use.
Q6: Can I make an adjustable footrest without brackets?
Yes! If you don’t have brackets, you can use stackable blocks or a slanted wooden base to create a fixed but angled footrest. While it won’t be height-adjustable, it can still be very comfortable.
Q7: How do I make my DIY footrest suitable for long gaming sessions?
To enhance comfort during extended gaming marathons:
- Use high-density foam for better cushioning.
- Add an anti-fatigue mat on the surface for additional support.
- Ensure the height aligns with ergonomic recommendations (your knees should be at a 90-degree angle).
Q8: Can kids use a DIY gaming footrest?
Definitely! A DIY gaming footrest can be customized to fit smaller dimensions, making it perfect for younger gamers who might need extra support to sit comfortably.
Q9: Is it possible to make a foldable gaming footrest?
Yes! To create a foldable design, use hinges that allow the footrest to collapse flat for easy storage. This is especially useful for compact gaming setups.
Q10: Are there any safety precautions to consider when building a DIY footrest?
Absolutely! Keep these safety tips in mind:
- Wear gloves and safety goggles when cutting or assembling materials.
- Ensure screws are tightly secured to prevent wobbling.
- Sand the edges of the wooden board to avoid splinters.
Q11: Can I add extra features like USB ports to my DIY footrest?
Yes, with a bit of creativity, you can integrate small tech features like USB charging ports or even a wireless charging pad. Use a hollow design for the base to house wires and small electronics.
Q12: How do I know if my footrest height is correct?
The ideal height ensures your feet rest flat on the footrest, with your knees forming a 90-degree angle. Adjust the height or angle until you feel no strain on your thighs or lower back.
Q13: Can I use recycled materials for this project?
Absolutely! Recycled materials like leftover plywood, old cushions, or repurposed fabric can make your project more eco-friendly and budget-conscious.
Q14: Will a gaming footrest help with leg pain during gaming?
Yes, a well-designed DIY gaming footrest promotes better circulation, reducing the chances of leg cramps, numbness, or fatigue during long gaming sessions.
Q15: Is it necessary to use foam padding?
While foam padding isn’t strictly necessary, it significantly improves comfort. Without it, the hard surface might cause discomfort over time.
Q16: Can I paint my DIY gaming footrest?
Yes! Painting your footrest not only enhances its look but also allows you to match it with your gaming setup. Use non-toxic, durable paint for the best results.
Q17: What are some common mistakes to avoid when building a footrest?
Here are a few mistakes to watch out for:
- Choosing low-quality materials that wear out quickly.
- Forgetting to measure your chair and desk height before starting.
- Skipping non-slip pads, which can make the footrest unstable.
Q18: How do I maintain my DIY gaming footrest?
- Wipe it down regularly with a damp cloth.
- Check screws and brackets occasionally to ensure they’re secure.
- Replace fabric covers or foam if they show signs of wear.
Q19: Can I make a gaming footrest on a tight budget?
Yes! By using recycled wood, leftover fabric, and basic tools, you can build a DIY gaming footrest for under $10 while still achieving a comfortable and functional design.
Q20: What other DIY gaming accessories can I pair with my footrest?
Consider building:
- A custom cable management tray.
- A DIY headphone stand.
- A compact gaming desk organizer.
Conclusion: DIY Gaming Footrest
A DIY gaming footrest for the ultimate gaming experience is more than just an accessory—it’s an essential tool for gamers seeking comfort and performance. By following this guide, you can create a footrest that’s tailored to your needs, cost-effective, and uniquely yours.
So grab your materials, unleash your creativity, and start building today. Trust us, your feet—and your gameplay—will thank you!


